Scene assembly and lighting
Roji Graph is where USD scenes are loaded, combined, edited, lit, assigned looks, and sent to render. Nodes carry the work forward so a scene can be repeated locally or on the farm.
Build the scene as connected nodes
- Add an Assembler node and load one or more USD files.
- Connect nodes in the order the scene should be prepared.
- Add Manipulator, Creator, Shaderverse Read, or Light Linking work where needed.
- Connect the final scene stream into a Render node.
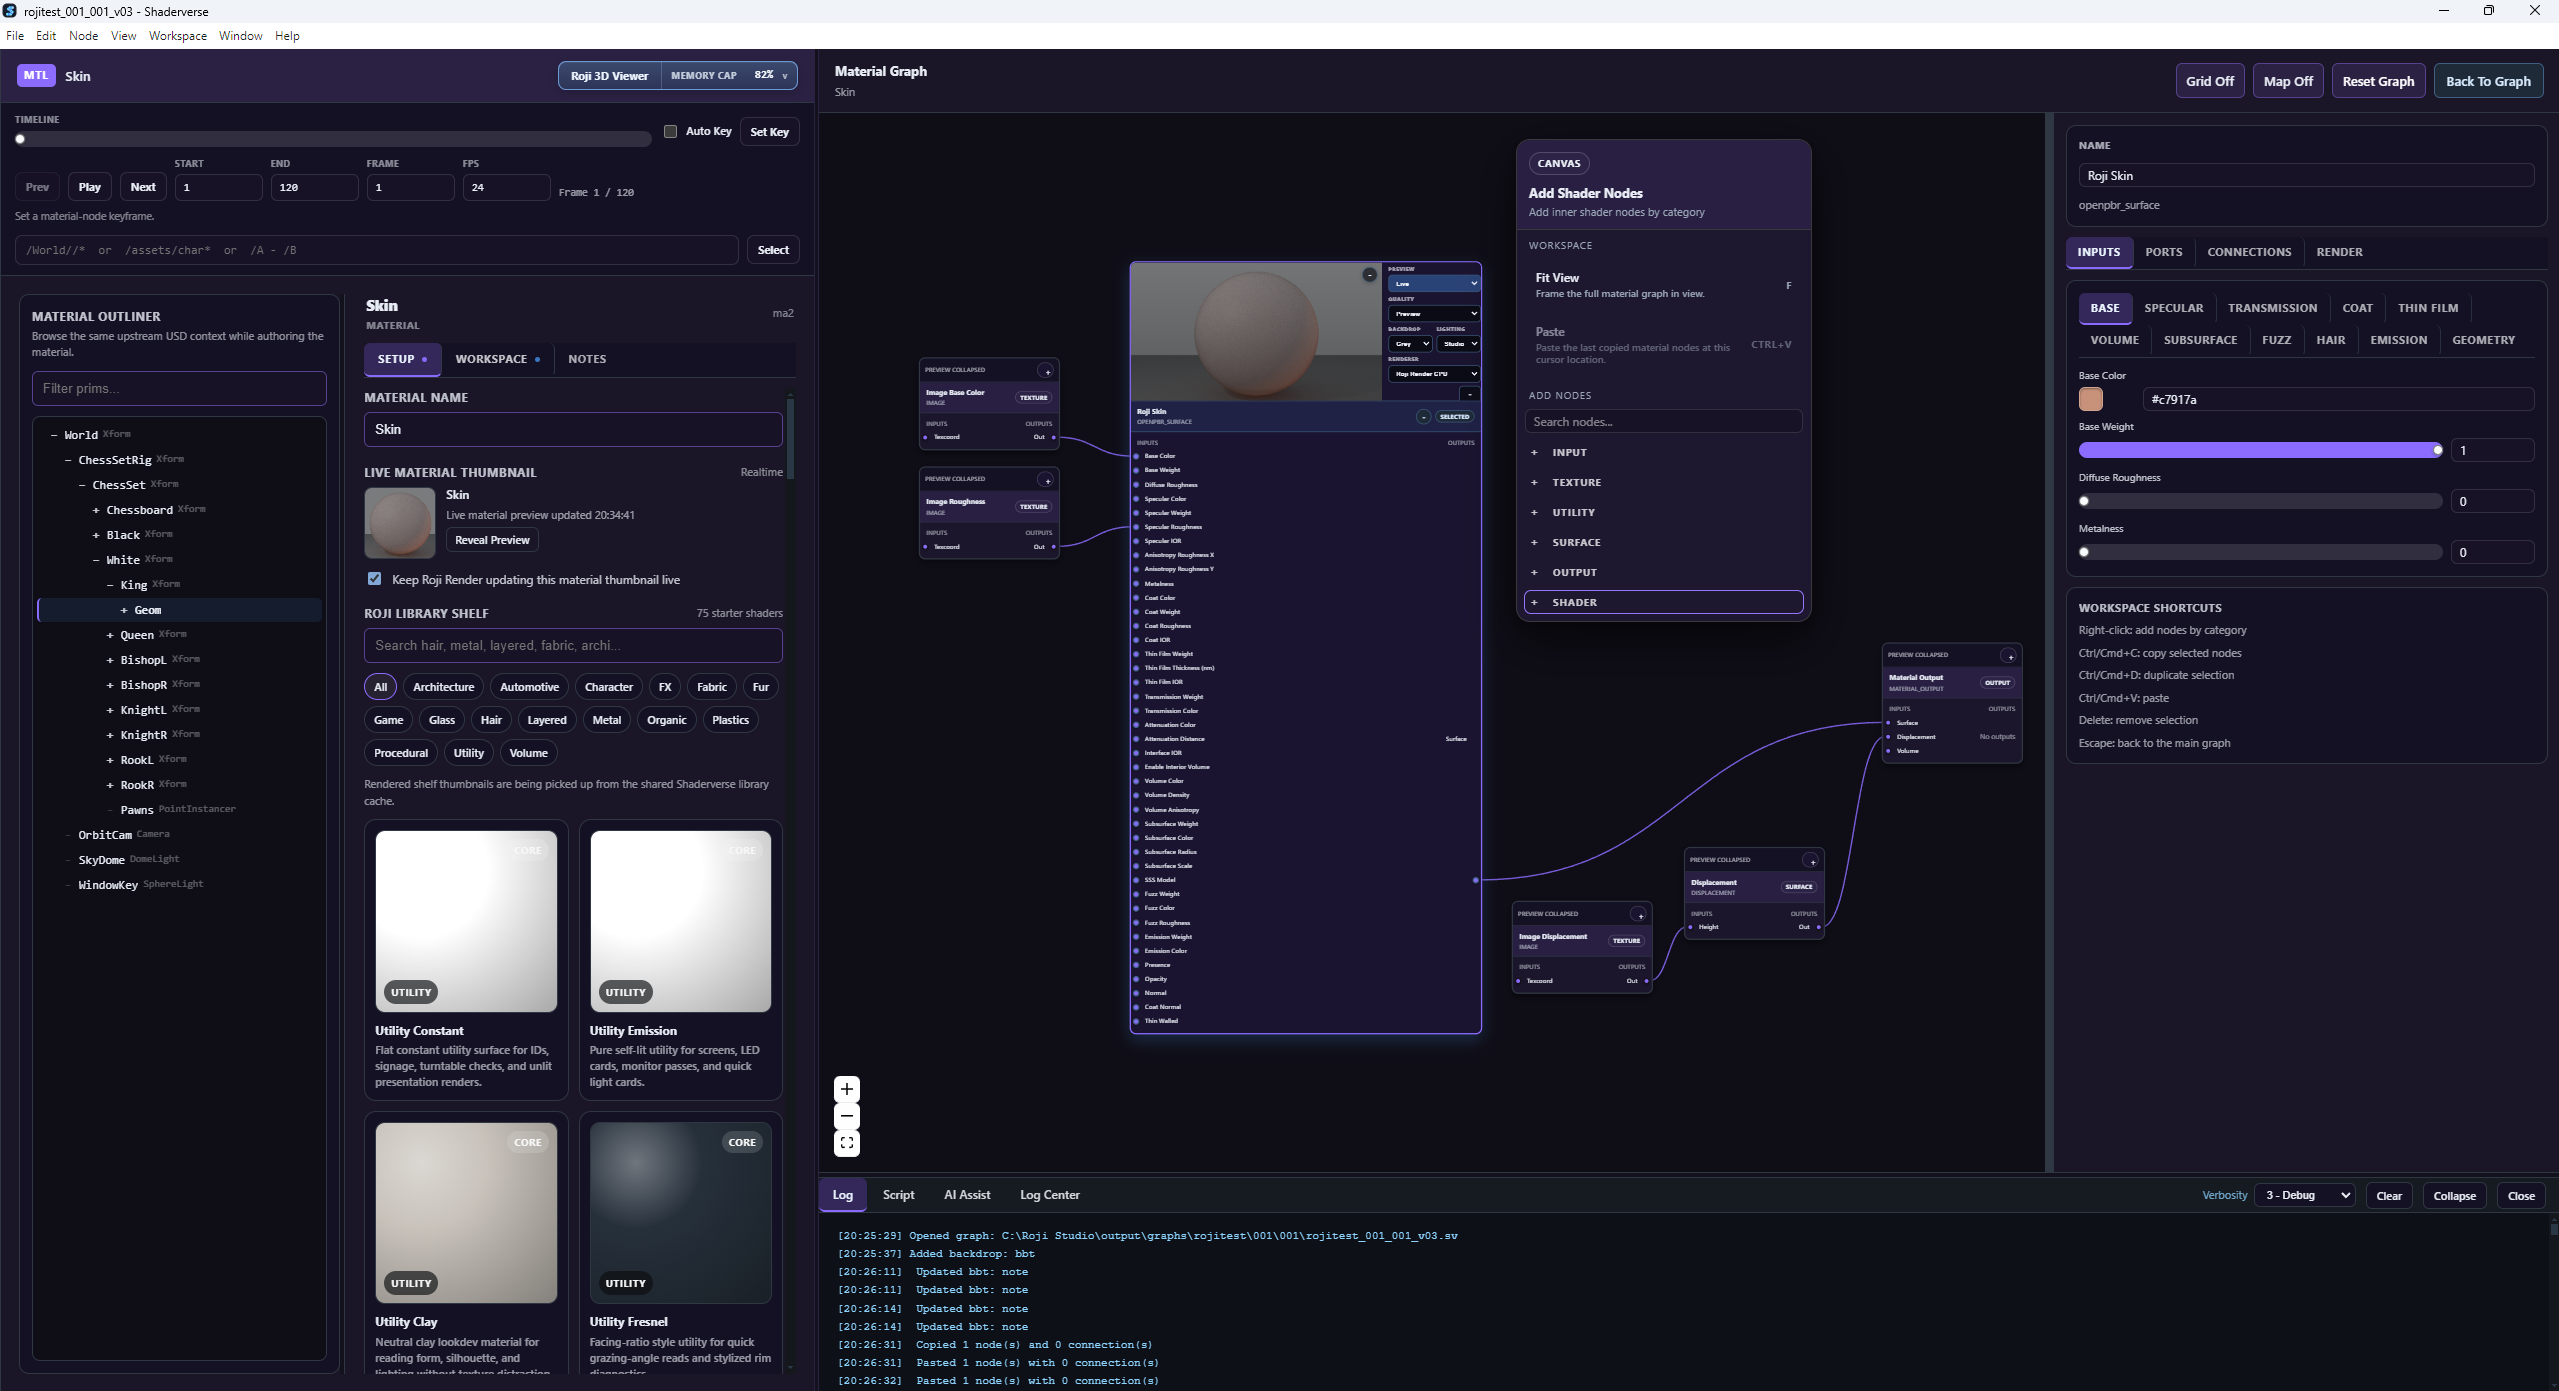
project_sequence_shot_v28.rj, with the active Manipulator inspector on the left and the downstream branches visible at a slightly wider zoom.Load USD into the graph
- Create an Assembler node from the toolbar, canvas menu, or Add Node menu.
- Select the Assembler and use Add or Browse to choose
.usd,.usda, or.usdcfiles. - Keep the main shot files in one Assembler unless a branch needs to stay separate for a clear reason.
- Save the graph so the USD list travels with the
.rjfile and farm renders see the same inputs.
Tip: If a downstream node has no hierarchy, select the Assembler and confirm its file list is still valid. The downstream graph only sees USD that reaches it through connected nodes.
Work a shot from input to render
- Set project and shot paths in settings: output folder, render executable, OCIO, assets, and look/package folders.
- Load the base scene with Assembler, then inspect it with Outliner or the 3D Viewer.
- Add Creator for new cameras, lights, helpers, volumes, and instance systems.
- Add Manipulator nodes for shot overrides such as transforms, visibility, attributes, light links, collections, and prune rules.
- Add Shaderverse Read if the shot uses a saved Shaderverse look package.
- Add Render for camera, quality, render layers, AOVs, output, lightgroups, live preview, and final image rendering.
- Add USDLive Bake only when the final handoff needs plain USD outside Roji.
Connect nodes deliberately
- Drag from an upstream output handle to a downstream input handle. The downstream node receives the composed scene stream.
- Use one readable main line for normal shots: input, edits, look, render, bake.
- Use Merge when separate branches need to feed one Render or Bake node.
- Use Backdrop, Group, and Super Group to keep large graphs readable without changing scene output.
- When debugging, select a node and check its incoming connection, bypass state, and upstream USD refs first.
Load multiple USD files
The Assembler node is the entry point for USD files. The loaded file list should be saved in the graph so UI renders and farm renders see the same scene.
- Use Add to load more than one USD into the same Assembler.
- Keep paths portable through project settings when possible.
- Connect the Assembler output into downstream scene nodes or directly into a Render node.
- Automation should read the saved USD list from node data, not from the file browser state.
Edit scene data without losing provenance
Manipulator nodes author changes on top of incoming USD data. Keep changes in graph nodes so the render package can explain where overrides came from.
- Use Manipulator for transforms, visibility, metadata, light attributes, and other scene overrides.
- Keep each logical change in a clear node so it can be enabled, disabled, copied, or debugged.
- Connect Manipulators in order when a shot needs a controlled override chain.
Inspect the composed USD stage
Use the Outliner to see what prims exist after the graph has composed the current node. It is the fastest way to confirm paths for cameras, lights, and CEL selections.
- Select prims to inspect their type and attributes.
- Copy useful prim paths when setting camera paths or linking rules.
- Check whether imported USD lights, cameras, and geometry are present before rendering.
Add cameras, lights, and helper objects
Creator nodes add new scene items into the graph. Use them when a shot needs Roji-authored lights, cameras, shapes, or helpers.
- Created lights should be selectable and visible in the 3D Viewer.
- Created lights should expose lightgroup assignment in the same way imported USD lights do.
- Created cameras should be saved into the graph before farm rendering.
Lightgroups and CEL fields
Light linking uses lightgroups and CEL expressions for light and shadow include or exclude rules.
- Emission should expose lightgroup assignment for all lights, including creator lights.
- The menu starts with
lightgroup01,lightgroup02, andlightgroup03. - The plus button adds
lightgroup04,lightgroup05, and keeps going. - Light and shadow include or exclude fields should use the CEL module.
Choose what gets rendered
The Render node receives the composed scene from upstream graph nodes. Each Render node can be rendered locally or on the farm.
- Connect the scene stream into the Render node.
- Set output folder, camera, quality, AOVs, and render options on the node.
- Use the render node name or id for headless graph render.
Bring looks into the graph
Shaderverse Read connects a saved Shaderverse look package into the graph. The selected look should be a json file that records its source Shaderverse graph.
- Connect Shaderverse Read into the graph before the Render node.
- Use Open Shaderverse to launch Shaderverse and open the original look graph.
- Keep the look json in the project assets or looks folder.
Every Roji Graph node
| Node | Use it for | Typical connection |
|---|---|---|
| Assembler | Load one or more USD scene files. | First node; connect to edit, look, render, merge, or bake nodes. |
| Manipulator | Live scene overrides: transforms, visibility, attributes, lights, collections, CEL, prune rules. | After Assembler or Creator; before Render or Bake. |
| Outliner | Inspect composed prims, paths, cameras, lights, and attributes. | Attach anywhere you need to inspect the current stream. |
| Creator | Create lights, cameras, helper geo, volume boxes, light filters, object light multipliers, and instancers. | After Assembler when new shot prims are needed. |
| Wannabe | Experimental authoring and quick candidate edits. | Use in a controlled branch; replace with stable nodes for final shot work. |
| TypeScript | Scripted automation, validation, and repeatable technical edits. | Anywhere a scripted graph operation is needed. |
| Merge | Combine branches into one scene stream. | Before Render, Bake, Group Output, or another downstream edit. |
| Group | Package a small reusable node network. | Use as a readable subgraph with clear input and output. |
| Super Group | Package larger department or sequence workflows. | Use for bigger reusable systems that would clutter the shot graph. |
| Shaderverse Read | Bring a Shaderverse look package into a Roji shot. | After scene edits and before Render or Bake. |
| Render | Render layers, camera, AOVs, quality, lightgroups, output, live preview, and EXR review. | Near the end of the graph. |
| USDLive Bake | Write the live graph result to plain USD for handoff. | Last node when plain USD is required. |
| Backdrop | Canvas organization and labels. | Layout only; does not affect scene data. |
| Camera | Legacy camera compatibility. | Prefer Creator for new cameras and Render for active camera selection. |
| Group Input / Group Output | Internal group boundaries. | Created inside grouped workflows. |